Testing, testing.
How we doing?
How we looking?
I think the audio levels are good.
We're ready to roll.
Today's video will give you the top 10 filmmaking tips to make your travel videos the best that they can be, right off the bat.
So whether you're just starting or you've been making videos for years, this video is for you.
My name's Christian and for the past three years now I've been making travel videos and by some crazy chance, it has become my full-time job.
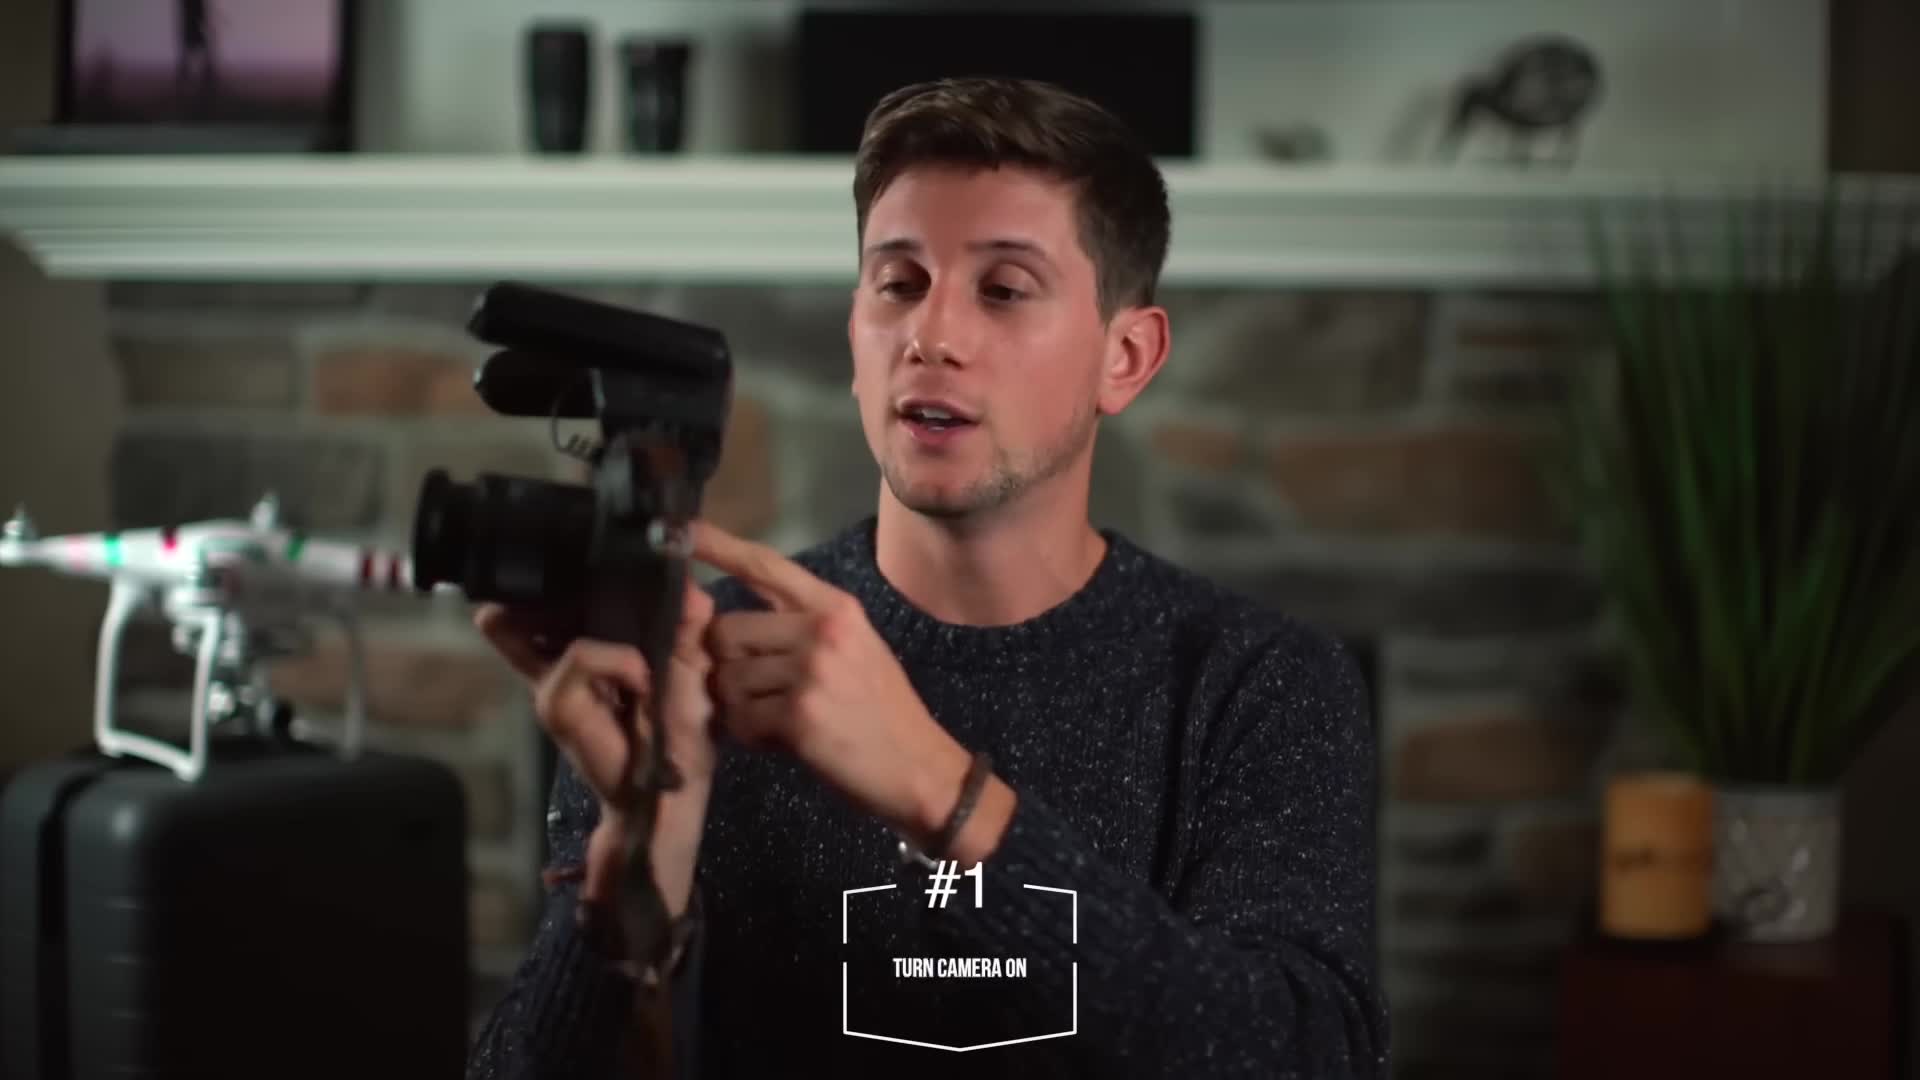
Now, the first tip is something you're not gonna hear anywhere else and that's where I pride myself on giving people insider information and that is to actually turn your camera on.
There's a little power switch right here.
Did anyone find that funny?
It seemed funny in my head.
You laughed?
Okay, good.
That's all that matters.
All right, number one for real this time is understand your equipment.
And when I say understand your equipment, I mean know how the focal lengths, how the camera that you're working with, will impact the image that you're getting.
But let's go through a couple examples.
If you're shooting with a GoPro, it's a fantastic travel camera.
One thing that you should know is that it's waterproof.
So, all of a sudden, you have that upper hand of being able to achieve and tell a unique story that most cameras will not ever be able to do.
Another thing that you should know with a wide angle lens, you're not gonna be able to tell what's going on in the distance.
So, even though something may only be 20 feet away from you, it's gonna show up like a speck in the video shot with a GoPro.
On the other hand, if you invested in, let's say, a T5i Rebel camera, something that has the ability to change lenses well, you need to understand how those different lenses will allow you to achieve different shots.
Boom, just like that, we now have two lenses.
This lens right here allows me to get wide angle shots.
Kinda like the GoPro, but not quite as wide.
And this lens right here allows me to get extreme close ups.
Not only does that mean that I can shoot things further away, but it also means that the subject will now appear closer to their background.
So if I have somebody standing in front of the mountains, the mountains now become humongous.
Whereas if I shoot with a GoPro or a wide angle lens like this one well, what it's gonna do is the exact opposite.
It'll make the mountains and the distance seem really small and the subject will seem big and upfront.
So understand how your different lenses, how your equipment will affect the shot and shoot accordingly.
And if you're shooting with a cell phone that has two lenses, that same logic applies.
And one other implication is stability.
If I was to pan with my GoPro, I would have a much more stable shot than if I just panned with my camera with this lens on,
The shake will be much more noticeable with a very distance telescoping lens.
Travel.
Tip number two is to understand the difference between slow motion, fast motion and when to use them.
So a lot of people, when they first pick up their cameras, they're all excited because for the first time, just like this, they're able to film at like five times slower than real life.
If you've got one of those new GoPros, you can shoot 10 times slower than real life and it's such a cool effect, but it's not to be overused.
Slow motion should only be used to emphasize a story.
If it doesn't add to the story, don't use slow motion.
The same can be said with doubling up the speed or quadrupling the speed.
Sometimes I see people using drone shots and they just go times 10 on the speed and then all of a sudden they're rushing through the air and it feels really weird because you can see the shake being caused by the drone moving around, being pushed by wind.
You can see the waves are moving 10 times faster and it doesn't look natural.
It really takes away from the moment.
So if you're gonna speed something up with fast motion, at least make sure it's part of the intended effect.
Personally, when I do fast motion, I typically like to cut up my clips so that it's more of a gradual up and then a gradual down.
So in other words, if I had the clip right here, I would make maybe five cuts.
Here I would have normal speed.
Right here I would have times two, and in the middle I would have something like times four.
What that does for you is it gives you a bit of like a pyramid effect where it's more gradual.
It's not this jarring speed up, stop effect.
It feels natural, more of a flow to it.
And I need to say that if you're shooting with a camera that doesn't do fast motion or slow motion, don't take that as like a disadvantage.
Sometimes the best stories are just told by shooting 30 frames a second, in other words like normal speeds.
Understand your equipment and how to make the most of it.
Travel tip number three, change up your angles when you're shooting with your cameras.
Doesn't matter if you've got a GoPro or if you've got a 70-200 equipped on a 1DX Mark II.
Whatever you're shooting with, make sure that you're telling a different story than just the stand and shoot.
There was an example I watched in another YouTube video is like you see, most people posting a photo of their dogs is typically just by standing up, because people are lazy.
They don't want to get down on the dog's level.
But if you want to take the better photo, you need to get down on your knees.
You need to be willing to climb up a tree to get the up above shot.
You need to be willing to do whatever it takes, almost whatever it takes.
Don't kill yourself, but go the extra mile in order to get that unique story.
That is what separates a good travel video from a masterpiece of a travel video.
The masterpiece will always have those unique shots that has the audience asking themselves, oh my gosh, how did they shoot that?
That's why when I fly my drone, I actually like to risk it to get the biscuit once in a while.
Sometimes I'll fly between an archway, sometimes I'll fly right under a tree, because I love to give my audience that scare factor of like, oh my gosh, you really changed up the angle in a way that I never would have done.
Get used to your equipment and once you feel like you've mastered the equipment, then you can start pushing the boundaries, trying new things.
And one more thing that could be said about changing the angle.
Changing the angle doesn't simply have to be altitude based.
It's not just about getting on the ground or getting up high.
It can also be about how close your subject is.
So if you're shooting with a lens like this, it causes a beautiful background blur.
Purely based on how close you are to the thing that you're shooting, you can achieve different results of the shot.
This took me a good year two years to really perfect, but I believe it's something that can come with time.
As long as you're aware of it and willing to learn, it can make a huge difference in your travel videos.
Tip number four and this is probably one of the biggest ones and that is to pick your music.
Music, music, music, it makes all the difference what kind of music choice you have.
You have the control to evoke emotions in the audience based on the song you choose.
So if you're trying to tell the story of a beautiful tropical beach, don't use the hardcore EDM song because they're completely clashing, unless that's your intended effect.
If you're trying to tell a really high-paced energy story, that's where you can look at the high BPM electronic music that gets the blood flow going.
There is no wrong genre of music to use, but it has to complement the scene and the story you're trying to tell.
Now, with that being said, there's one place I get all of my music from, and when I say all, I mean it's my go-to, every single day.
I've actually partnered with them to create my own album.
I feel like Kendrick Lamar right now.
It's the exact same thing, except I didn't make the music.
I just picked the song.
But if you wanna check it out, I actually have my own Los Leblanc album on Epidemic Sound right now.
It's got 16 tropical travel adventure songs that will be amazing for any of your travels coming up.
And the awesome thing is not just the fact that they have great music, but it's the fact that I can use this music on YouTube, on Facebook, on any social platform, and not have to worry about legal consequences.
It's so crucial that i know that every single song i use in my video will not be struck down by a copyright or by another artist.
And the awesome thing is they actually have a free one month trial, so no commitment.
See, if you like it, and they've been kind enough to reward Team Get Lost the people here on this channel by using the coupon code LOSLEBLANC.
You'll actually save 15 on your first six months, so check it out.
Number five this is a huge tip, especially for beginners, who often overlook this, and that is the importance of stabilizing your footage.
Now, there's two ways you can stabilize it.
You can stabilize it in a software.
I'm not gonna talk about that.
You can figure that out by whatever video editor you're using.
It can sometimes help.
It can sometimes do bad things to your footage, so use that with caution.
But the thing that I will focus on is creating the most stable video inside of the camera, so that you don't have to do that extra step.
At least rely on it in post-production.
Whether you got a cell phone, whether you got a GoPro.
They now have gimbals, automatic electronic stabilizers that allow you to achieve incredibly buttery smooth footage.
You can buy stabilizers for, I believe, as affordable as like 300, and it will be a game changer in your footage.
Now, if you're shooting with a heavier camera, they also have those gimbals.
I personally use a big heavy duty one, but there's some pretty easy strategies that you can do without even having extra equipment.
So, let's talk a bit about that.
This right here is my backup camera, and I'll show you one of the easiest ways you can stabilize.
Use your camera strap, put it against the back of your neck and simply keep your camera as extended as possible so that tension is being applied on the camera strap.
And by doing this, what you're actually accomplishing is you're creating more stability on the camera.
When you pivot, when you turn, your camera is not gonna be freely moving in your hands.
It's gonna stay nice and stable by having more points of contact against your body.
If you're gonna do walking shots, then you know this will still help you, but at the end of the day, nothing will replace an electronic gimbal or a steady cam, which is just a counterweight system, but it does an amazing job.
But one other kind of getaway that you can get away with creating a moving, stabilized shot if you have a flat surface you're working with is a skateboard or a rolly chair.
That way you're not getting that motion that comes with every step.
Instead, you just kind of roll around and it'll give you a much more stabilized shot.
And one last little bonus tip because I'm all about value here on this channel.
If you haven't already subscribed, go ahead and hit that sub button.
If you're shooting with a drone, you can actually walk around with your Phantom, with your Mavic.
You've got yourself a Steadicam.
Number six.
The storyline.
What you want to do with your travels, with your videos that you're filming and editing is you want to have in mind?
What is the story I'm trying to tell?
I like to have things in chronological order, where they kind of show the travel that's been going on over the past month or over the past week.
Don't just insert random travel clips all together over music.
You know, that's gonna get you a C or a B grade.
But you will not be best of class by putting a video together that way.
What will help you though is, let's say, you're traveling with your friends, and this video kind of follows the day in the life through a cinematic eye.
Maybe it shows your start of the day, hitting the alarm clock to wake up, maybe it shows you putting on your pants with like a POV shot but, you know, try to keep it below a certain point and then maybe it shows you getting into the bus heading to the kayak station, where you then get in your kayak.
All of a sudden you have different angles.
You've got an angle that shows your paddle going into the water.
You've got a wide angle that shows you leaving the shore.
You've got another even wider angle that's been shot with a drone.
These are the things that you can accomplish when you expand your equipment arsenal.
Of course, that doesn't happen at first, but you can do it with any camera.
You can always change up the shot.
You can always tell different stories with different perspectives.
But I really think it's important that there's a bit of a continuity, a flow that shows what's going on in this video.
And that will definitely be a key if you want to take your video from an eh to an uh-huh.
How do you say seven in Spanish?
Number seven, here we go.
We're going with French.
All right, so number seven is movement.
So if I'm going to shoot a cinematic sequence, I see this all the time with beginners.
Sorry, I'm just throwing all the beginners under the bus.
This is getting a little graphic.
There's just too many people under that bus right now.
What you wanna do is you wanna think of movement as one continuous motion.
So if you're shooting a nice pan, then the pan should look something like this, but then not all of a sudden jerk back.
I mean, there's a few exceptions, but for the most part you wanna do it with one continuous motion, either uniform, meaning it's just like this, or an exponential acceleration.
Maybe it can be like this.
But what you don't want is random and sporadic movements is what I'm trying to get at here.
Don't go like this, then like this.
Again, this is going back to shake.
It'll be horrible to watch.
But another key example that I see beginners doing is when they're flying their drones.
They tend to use a clip of their drone where you actually see the drone readjusting.
So if you watch any of my travel videos Almost without fail, the only shots I use on my drone are the shots that are continuous.
If I'm moving forward with my drone and tilting the camera up, if my camera stops tilting up, that is the end of the shot.
Even though my drone may still be moving forward, that is a stop in continuous motion.
The worst is when I see somebody use a drone clip.
They speed it up and then all of a sudden it just turns left.
As somebody who's made a lot of videos, that is one of the most horrible things I can see.
What's much better is if you wanna do a turn, have it a nice gradual turn.
Siete.
Now building on the importance of getting the right shots is actually making that shot match with the music.
So, once we've headed over to Epidemic Sound, we've picked out our amazing songs from the Lost LeBlanc album.
What we're gonna do is we're going to, of course, wanna tell that beautiful story with that song.
When I'm putting together the story, I take my videos, I take my song of choice and I make everything based around the song.
Your video needs to build around the song, because the song cannot be altered, cannot be changed, at least not easily.
But you have the ability to move your clips around.
Find the song that has the right mood, the right tempo, the right amount of beats per minute.
When there's a well-defined beat in the song, it's very easy to cut to it.
So every time you get that very audible sound where it's like either a percussion or it's a drop, that is a great indicator that this might be a good time to cut to the next clip.
And what I like to do is based on the beats per minute, the speed of the song, that is, what kind of indicates how many clips should I be using?
So, for example, if the song's very mellow, I'll probably let each clip draw on for anywhere from three to seven seconds each.
Whereas if it's a high-paced song, then you're gonna be going through a lot more clips, individual cuts.
Every time you hear that that's an indicator that it's probably time to move to the next clip.
Now, sometimes you can have two or three or even four of these beats within every cut, but try to keep it uniform.
It's completely up to you, but it's about training your ear to hear that little t.
Here's a couple examples of mellow versus high octane.
So it can be argued that there's no right or wrong way to do this, but if you don't cut your clip on the beat, you're doing it the wrong way.
Find the right song, train the ear, make the cuts to the beats and you will bring your video to the next level.
Tip number nine is particularly important, and I'll stress it with a very well-known example, and that is the GoPro highlight videos.
Every year, when GoPro releases their brand new cameras, you see this beautiful highlight reel that shows the most incredible shots extraordinary colors vibrancy contrast, all this beautiful stuff in these shots and you're like, oh my gosh, my shots are gonna be incredible.
You get your GoPro or any other camera for that matter and you start shooting with it.
You're probably gonna find you're a little disappointed.
Your iPhone photos didn't look like they looked on the Apple website.
The reason the footage you shoot doesn't look like their footage is because there is so much work put into the color grading.
Color grading is one of the most important ways to tell your story.
You can literally take a gray sky and make it seem like a beautiful fiery red sunset if you know what you're doing.
Now color grading isn't art, it's something that takes months and years to get good at.
So if you wanna make a wow video versus a eh video, then learn to color grade, because contrast saturation the curves.
There's so much you can do with your colors to tell that story.
For me, color grading is like getting a set of Play-Doh.
You've got all these beautiful colors and it's up to you to mold them into the story that you want to tell.
I think it's exciting.
It's a lot more work, though.
All right.
I'm gonna give you a bonus one because I just thought of it.
So technically this is a 12 tip video, but you know again that's the Los Leblanc value you get here on the channel.
So if you haven't already, sub.
When you're making travel videos.
I wanna show you some hand motions that can be really fun for transitions.
If you're doing a pan shot on the beach, what you can do is you can actually end it off with a really quick movement like that.
Because you're actually moving so quick at the end of the shot the human eye can't keep up with what's going on in the shot and this is actually an opportunity, when you're cutting, to cut the scene right here, when the camera moved really quickly, and transition to another shot that's maybe panning in the same direction.
The same can be said if you're shooting upward.
If you're doing a slow pan upward and then you're like whoosh, like that, the viewer sees you panning up to the sky and then all of a sudden you move really quickly, they lose track of the shot.
Take a drone shot.
It's like all of a sudden you've transported the viewer into the sky.
When you're going underwater.
That moment, right where it goes underwater, the viewer kind of can't see what's going on because the breaking of the waves gets in the shot.
Cut that shot with a beautiful underwater swimming shot with like a dolphin, and all of a sudden it seems like this magical thing.
So use those kind of creative thoughts to like how can I make a unique transition within this moment?
That was not even a full tip, that was a 9.1.
Now, the 10th tip, the final tip is, I forgot it.
Don't overdo effects.
Crossfades, the wacky little drizzle effect that brings on the next frame.
And it's like, it depends who your audience is or what your goal is.
If you're just trying to make a fun home video, that's nice.
Go ahead, use those.
But if you're trying to make a professional-looking YouTube video that you want to be proud of and be able to share that with other people, then these are effects that will definitely make your stuff feel a little bit beginner.
I know some people that use effects and it can be done very tastefully, but personally I don't use any effects in my videos.
I now do all my own effects basically manually.
What that means is I'm either doing stuff with my camera like this or I'm cropping in on my video using post-production, but I'm not just using a plugin and dropping in the effect.
Be wary when using effects that it might not have the intended effect that you're looking for.
That has been 10 travel tips for your next travel video.
I hope you enjoyed this video, guys.
If you wanna see some of my travel videos, how I use my cameras, my lenses vary the shots.
Well, I'll link one of my videos that I think does a really good job showing that.
If you're looking for some tropical vibes, escape the cold weather, check it out.
And if you wanna learn more about my business, how I actually run all of this, how I'm able to travel the world, stay in hotels for free and get paid doing it, then check out my Patreon community.
I actually post weekly behind the scenes videos.
Just recently posted a couple videos like how to beat the algorithm on YouTube, how to make money as a freelancer, how to game Instagram basically all the behind the scenes to how I'm running this.
I will not plug it anymore, but I do have an album on Epidemic Sound, the best way to get music for anyone who plans to do YouTube Facebook, Instagram et cetera.
So if you wanna check it out, it's also in the link down below.
Guys, without further ado, let's get lost again in the next one.