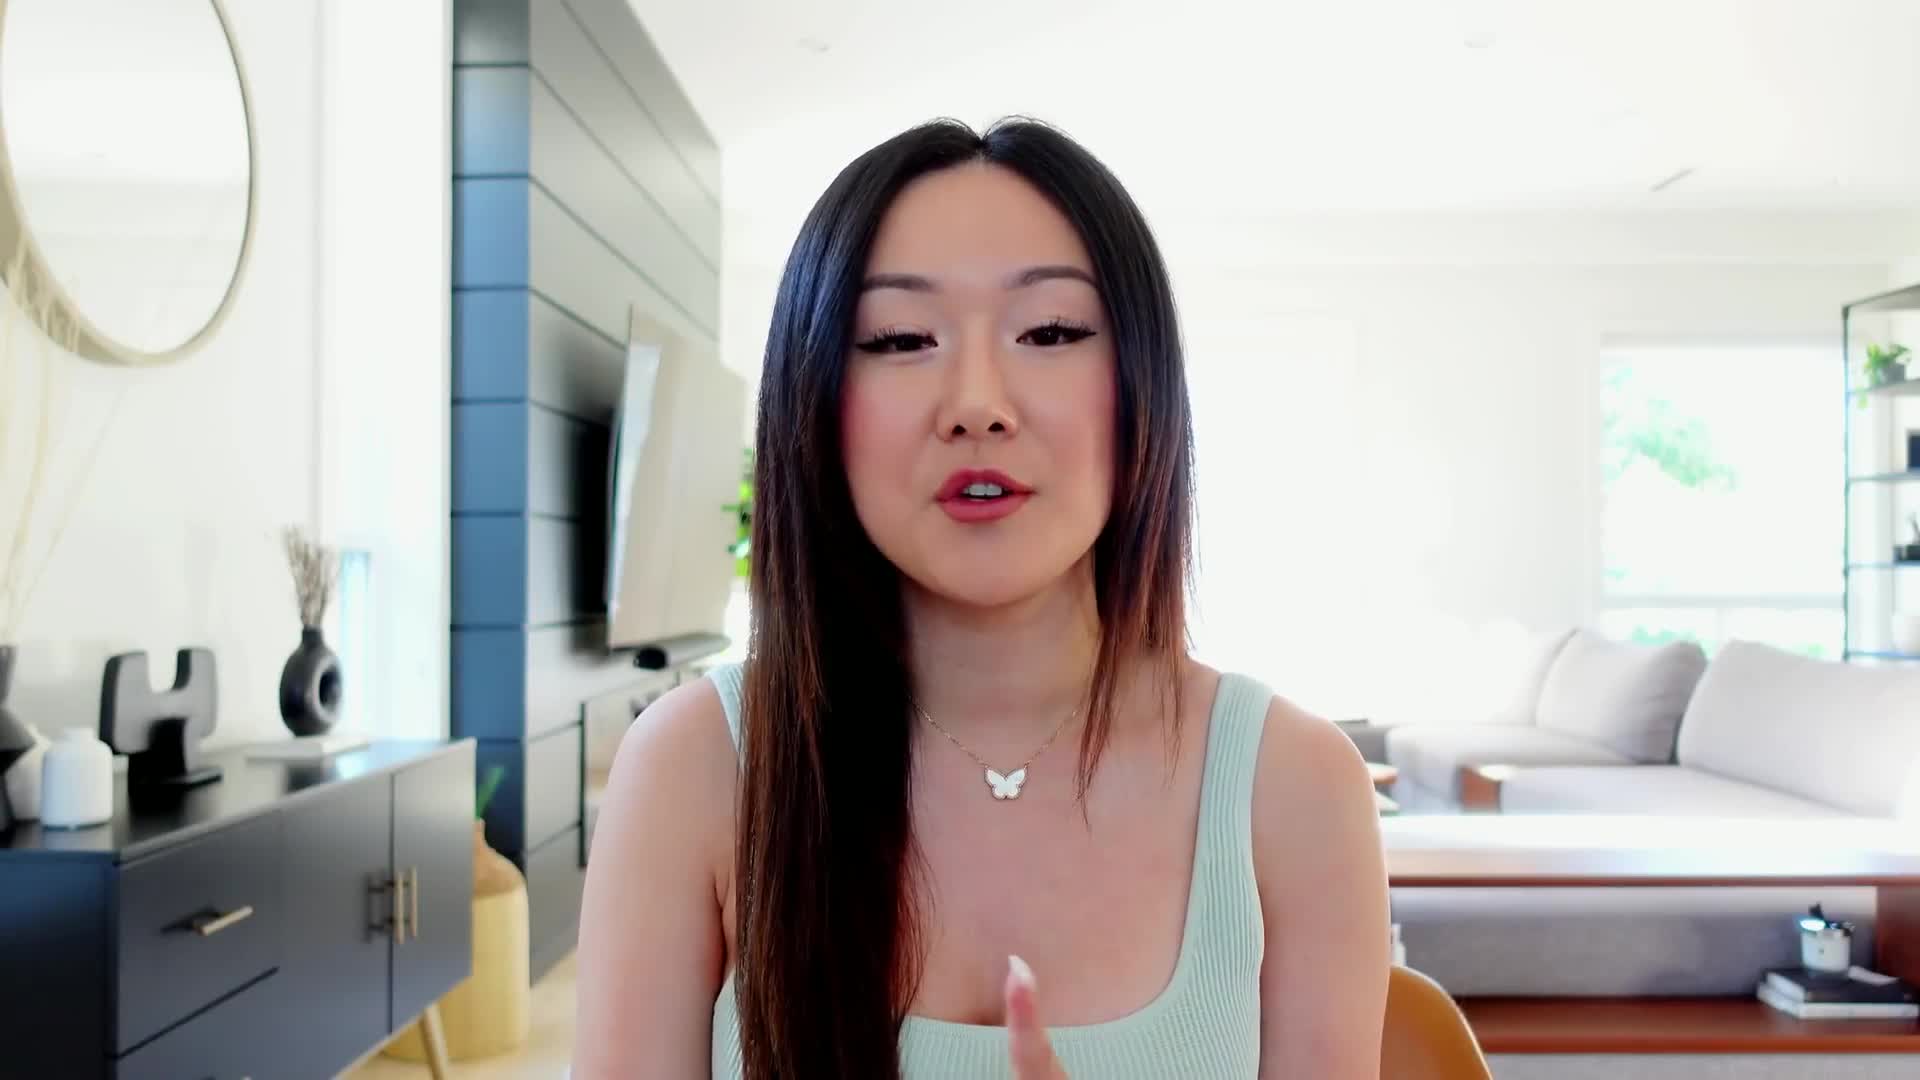
So you're looking to get new equipment for your YouTube channel, but before you go ahead and buy the same camera that I'm using right now, which is the Sony ZV one, I highly recommend that you optimize your iPhone settings first.
Did you know that if you go into settings and you hit camera, you're able to change it so that you're filming in 4k at 60 frames per second?
On top of that, if you actually go into your camera itself on the top right hand corner, you can change the settings there as well.
Now, if you want to supercharge your iPhone, you can go ahead and buy a microphone that is for your iPhone, such as the Shure MV88.
It looks something like this, and you could also add noise cancellation on top of it, and then you would plug this in, and now it is basically your YouTube camera.
So let me change angles and show you what this looks like in real time.
Now this is my iPhone 12 pro max in action, with the settings at 4k, 60 frames per second, using the sure
And the 88 microphone.
Now, of course, you can buy any type of microphone on Amazon that's compatible with your iPhone but, as you can see and as you can hear, This setup is pretty sick, especially if you're someone who already has an iPhone.
All it takes is switching your settings to 4k investing in a microphone and even a tripod.
So right now I'm filming using the Adobe grip type pro tripod, which I will talk about later in this video, but let me know in the comment section below if you are impressed with this iPhone setup.
Now, if you are someone who is not interested in using your iPhone, you really want to invest in a steady, solid camera.
The next recommendation I have is the Sony ZV one.
This is a vlogging camera suitable for creators.
It is super lightweight.
It's a point and shoot camera.
And what I love about it is that it already comes with a dead cat to help you muffle any echoing that might happen when you're filming videos.
And all it is is you just slot this baby in and you already have that.
And so this is literally the perfect creator camera.
So let me switch back and show you what this bad boy looks like.
So here is my regular YouTube camera in action.
It's a Sony ZV one, but instead of using my add on microphone, I'm using the built in microphone that it already comes with on top of adding that dead cat slash noise cancellation on top of it.
So let me know in the comment section below how you like this setup.
Now, for many of you, the built in microphone on the Sony ZV one is likely more than enough, but for those of you who want an extra boost and you want to increase the audio quality, this is the microphone that I use and this is the road video micro.
And, funny enough, even at almost 600000 subscribers, I still use a relatively cheap microphone like this one.
Now, of course, I say relative, because there are definitely other microphones that are cheaper than this, But in my experience, I've actually invested hundreds of dollars on microphones and I still prefer this little guy right here.
It also includes a dead cat.
So if you want any noise cancellation or you want to reduce the amount of echo that are in your videos, you simply add this on top.
And this is the exact microphone that I've been using in all of my recent videos.
So let me pop this bad boy on and show you an example.
Now, what you're hearing and seeing right now is my exact YouTube setup with the Sony ZV one vlogging camera paired with the road video micro on top of the Joby grip type pro tripod.
Now, what I love about the Joby grip type pro, and why I believe it is worth the investment, is because not only can it be a tripod, you can also extend it and turn it into a selfie stick.
This allows you to vlog freely around your home and also do sit down videos really easily as well.
In addition to that, when you buy the Joby grip type pro, it also comes with this extension right here where you can add in your iPhone.
And so as you can see, you're really getting a lot of different uses out of this one stick.
Now, regardless if you are a beginner here on YouTube or maybe you're a more experienced creator, I highly recommend investing in the exact setup that I have, for various reasons.
Number one, it's extremely lightweight.
I used to have a setup that was really fancy, but also really bulky.
It was a rolling studio with an LCD monitor.
I use the Sony a 6,400 with an add on lens, which added a lot of weight to my setup.
And I had the road video pro plus microphone.
Now that setup alone was incredibly hard to maneuver around my house.
And it actually limited the amount of shots that I could get in my videos.
And so during that era when I had that set up, even though it was really fancy, it actually didn't provide a lot of variety to my shots, versus with this setup that I have right here, because it is so lightweight and easy to use.
I'm now able to add a lot more dynamic to my videos, which ultimately increase the amount of engagement that I'm getting on my content.
Now, a second reason why I recommend my specific YouTube setup is because all the products that I'm using are very popular here on the internet and there are tons of free resources tied to them.
So one thing that I recommend is, whenever you're choosing your YouTube equipment, you want to select products that are already popularized, because just by simply searching for them online, you're going to be able to find tons of resources.
For instance, when you search up the Sony ZV one, there are tons of free YouTube videos on how to set up your settings, how to troubleshoot if there's any issues, and different types of equipments that you can add on to this product.
The same thing applies to the road video micro and the Joby grip type pro.
One mistake that I made when I was starting out my channel is I was using a camera that nobody else really used.
And so whenever I had any issues, I felt very alone in troubleshooting it and I couldn't find any type of free resources to help me.
So, regardless of you choose my setup or someone else's, I highly recommend that you consider this as your factor of consideration, by choosing products that are already very popular on the internet, so that you can easily find free resources around them.
Now, another reason why I prefer my setup over others is the fact that it is relatively affordable.
This entire setup with all three pieces is likely going to run you less than a thousand dollars.
Now, of course, not everyone has a thousand dollars lying around.
And if that's you, I highly recommend that you film with your iPhone to start.
But those of you who can afford this, it is actually quite a steal for context.
My old setup was about $5,000 and to date.
I still prefer this setup for my channel that has almost 600,000 subscribers.
And so if it works for me, it will certainly work for you.
Now with the pros also comes the cons.
One of the first cons that I've identified with my setup is from a vlogging perspective, the road video micro is not necessarily the best microphone.
And the reason why is because if you ever want to flip your camera, you're also going to need to flip your microphone as well.
Now way around it is instead of investing in the Rode VideoMicro, you can invest in a microphone like this.
This is the Deity D4 Duo, and it's essentially a multi-directional microphone where you're able to film and also capture audio on either side.
Not only this is this microphone also includes two dead cats that you can add on so that you can really reduce the amount of echo and noise that's coming through.
Now you might be wondering Vanessa, if you have this microphone, how come you're still using the video micro?
Well, the reason why is because there are two microphones here.
What I've noticed is, even with the dead cats, I still hear a lot of echo and I highly prefer my row video micro for my sit down videos more than this one.
Now what you're hearing right now is the Deity D4 Duo.
So let me know in the comments below if you prefer the Rode Video Micro or the Deity D4 Duo.
Now one thing to note too is the Deity D4 Duo is more than double the price of the Rode Video Micro.
So if you are someone who's not really actively vlogging and most of your videos are sit down videos like mine, then I highly recommend just sticking to this one.
You're going to save a lot of money and this little guy honestly gets the job done.
Now, the second con to my YouTube setup is the fact that the Sony ZV one battery is not very long lasting, meaning that it does not last me one filming session.
But to get around it is.
I've actually purchased extra batteries for the Sony ZV one specifically.
So before I film, I always have this bad boy plugged in.
And so if you are someone who is debating purchasing the Sony ZV one, I highly, highly highly recommend that you purchase extra batteries for it.
And regardless, if you are someone who's not interested in the Sony ZV one, maybe you're purchasing another camera.
I highly recommend either having backup batteries or going on Amazon and searching the model of your camera and then writing dummy battery next to it.
A dummy battery is essentially a battery that you can plug into your camera, and you're going to be able to plug it into the wall so that your camera is constantly running.
You won't need to swap out different batteries every single time.
It'll always just keep your camera on.
And so, regardless of what you decide to invest in, always make sure that you have backup batteries or dummy batteries to support you.
So that doesn't interrupt your filming flow.
Another pro tip that I have to make sure that you're filming is not interrupted is to invest in a solid SD card.
Don't make the same mistake I did and cheap out on an SD card because, number one, when you film and you run out of storage really quickly, it's really going to interrupt your filming flow.
And secondly, if you are trying to film in 4k, you're going to want to invest in a solid SD card that can support 4k filming, and how you can find this out is when you look at the card.
You're going to want to purchase something that has V 30 or higher.
Now don't tell me what that means.
I searched it up on Google and essentially any SD card that is fee 30 or up, you're going to be able to support 4k filming with.
So make sure that you were very stingy on the SD card, because the high quality SD card is well worth it, especially if you are a YouTuber.
Now, at this point of the video, I've really shared a bunch of different equipment that you can use, ranging from using your iPhone all the way up to using the same camera that I'm using for my channel.
But you might be wondering to yourself, Vanessa, how come you haven't discussed lighting yet?
And the reason why is because even to this day, four years later of doing YouTube and trying different types of lighting equipment, I still stand by daylight lighting.
I think that it looks the best.
And I also think that it's the cheapest because it literally costs $0 at the same time.
I understand some of you guys might be filming in the winter time or maybe some of you guys are filming in really dark environments.
If that is you, then I highly recommend investing in softbox lighting rather than choosing led lights.
I've tried both and personally I prefer softbox lighting because it's a lot less harsh on your face versus led lights.
Now you can simply go on Amazon and choose any softbox light that's less than 50 if you'd like, depending on your budget, and on YouTube there are tons of resources on how to make softbox lighting work for you.
But personally for me, I don't use it and I personally use daylight lighting for all of my videos.
What's also important to remember is you investing in better equipment is not necessarily going to add more views to your channel or to your videos.
At most, having decent quality audio and decent quality video is only going to reduce the bounce rate that you get from your content.
For example, if your audio is really muffled or your camera's always really blurry, then of course that's going to cause someone to click out.
At the same time, what's more important is the actual content and how you structure the content in your video.
That matters.
That's actually going to get you more watch time and also get you higher view duration, which will contribute to more views down the line and YouTube actually recommending your content.
That's why, if you want my exact script formula for yourself, I highly recommend you click the link in my description box below, because for a limited time only, I'm giving away my script formula.
That's going to be completely plug and play for you.
That means that once you download this script and you get access to my tips and tricks on how to increase the quality and retention of your videos, you're going to be able to hit the ground running when it comes to filming your first, second or even 10th YouTube video.
So click the link in my description box below to grab that.
Now, after you've downloaded my plug and play YouTube script formula, make sure you watch this video that I have right here as well to supercharge your YouTube efforts.
As always guys, I appreciate you and I'll see you in the next one.
Bye guys and good luck with your YouTube channel.